

For those of you who have been following along on Tuesdays here is a little project you can make for yourself, a pincushion.

This version is based off Heather Bailey's free download pattern, Square Deal (here). It is such a cute pattern but I found the sides of the square a little difficult. I would make a terrible quilter because I have no patience for making things even. Can you tell by my squares below?

These little fabric scraps are about 3 1/2 inches on each side. I cut two and placed them right sides together. Next sew along all four sides leaving about a 1 1/2 inch gap on one side. To sew a straight line you can draw them on the fabric with invisible ink and a ruler or just use the lines on the presser foot and sewing machine as a guide. This seam allowance was about 1/4 inch but give yourself a little more room if it makes you more comfortable (you may want to cut bigger squares of fabric to start with).

When you've got the edges sewn trim the corners to get rid of some fabric bulk.

Now to get that boxed look pinch the corners flat (see below) to make it a three dimensional shape.

You will sew a small straight stitch, about 1/2 inch, across the side seams on all four corners. See the purple line below?

Here is another view in case this is confusing. It is still empty at this stage.

Now you'll use the opening to turn the pincushion right side out.

Stuff.

And sew up the hole with a thread and needle.
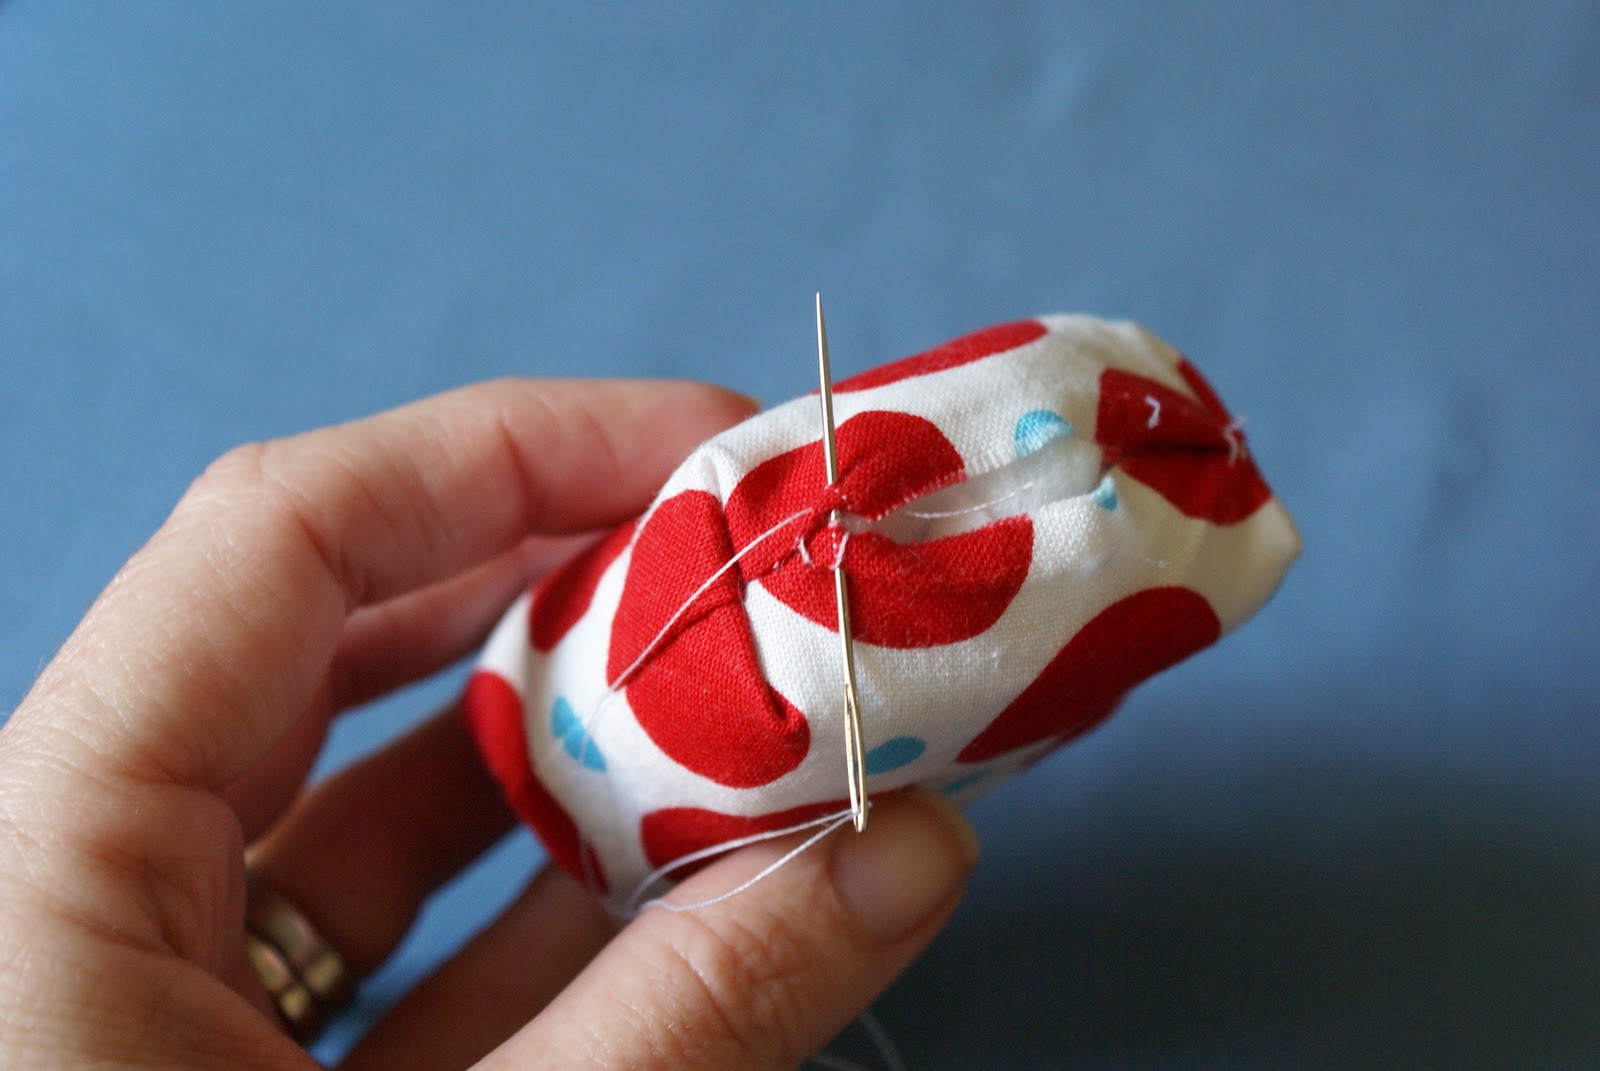
To add the button start by tying a good sized knot in a piece of thread and pull it through the cushion with a needle. Once it comes out the other side slide a button on the needle through one hole then back down the other hole and into the fabric. You are now headed back up to the top where the knot is. With the needle sticking out of the top slide on your second button. Continue pulling the needle through both buttons on either side of the pillow. When it is on good and tight tie another knot and trim the thread.

It should look like this on both sides.

Instead of adding the ribbon over the sides like Heather's, I pulled mine around the sides and knotted. This also helps to hide your side seam if it is not so pretty (like mine).

There you have it. A mini (and simple) version of Heather Bailey's Square Deal.

If you make her version or mine let me know. I love seeing how your projects turn out. Please tell me if I need to clarify any steps too, sorry I don't have more visuals for attaching the buttons.
2 comments:
What a great, and easy, tutorial. Thanks for sharing!
Great tutorial! Thanks!
Post a Comment