Showing posts with label tutorial. Show all posts

Sunday, January 22, 2012

Hugs and Kisses Valentine Garland


We have very few, if any Valentines decorations.  I've been in a crafty mood lately and felt we needed a little something festive for the upcoming holiday so I pulled out supplies I had on hand, paper, yarn and a heart punch and this is what I came up with.  My Hugs and Kisses Valentine Garland.

To make your own...
  • Find a font you like, select outline and enlarge to the size you want (I used Lucida Calligraphy sized to 250 pt).  If you squint you might be able to see the xoxo on the white paper below.  If you don't see them trust me they are there.


  • Print on card stock and use a ruler to mark for holes along the top so they'll hang evenly.  You don't need to make exact measurements but if you mark now you won't have to guess where to put the holes later. 


  • I recommend using an Xacto knife to cut out the letters but you could use scissors if you don't have an Xacto on hand.


  • Punch or hand cut hearts.  I used 18, 1.5 inch hearts for my garland.  A also punched small holes at the top of my hearts so they would be easier to string.
  • Finally, I used a needle and some pink lace weight yarn to string it all together. 


 There you go.  A simple, and practically free, Valentine decoration.  Now go make your own garland and let me know how it comes out.


Tuesday, March 22, 2011

Tuesday Tutorials and Project ReStyle: Week 12 Combo


 We are into day four of our spring cleaning and feeling rather pooped so I decided to take a break from the dirt removal and whip up a little gift for my loyal companion.  I noticed some old pillows yesterday when I was going through the linen closet.  I considered tossing them but then thought I could put them to use as a dog bed.  This could be one of my quickest most appreciated sewing projects to date.  I think it took me all of about 30 minutes, and that is with taking pictures.

See, cleaning really tires him out.

30 Minute Dog Bed
You'll need two old pillows and a duvet cover or flat sheet.

Fold the duvet cover (or sheet) in half and place the pillows side by side in the center.

Fold up one side.  (Something tells me he knows this is for him)

Then fold up the other side.  (He can hardly wait)

 I ironed the edges so they would lay flat but I didn't bother with the ironing the whole thing.  It is a dog bed after all.  If you feel the need to make it smooth and pretty go for it.

Pin the sides together so you have the three overlapping layers.

See, this make a big envelope for your pillows.  

Sew up the two side seams with a good 7/8 inch seam allowance and turn right side out.  I admit flipping around was a bit tricky but keep at it until the seams are on the inside and you have a nice pocket.

Insert your pillows...

and you have yourself a dog bed.

This makes a good size dog bed but you could make a smaller version if you fold the sheet in quarters and use one pillow.

30 seconds later.

Two minutes later.  Nap time is over and he's back to guard duty. 

Like I said this is one appreciated gift.  You are welcome Wrigley.  I love you too.

I can't let all this cleaning go to waist so stop by tomorrow for a little house tour.

Tuesday, March 8, 2011

Tuesday Tutorials

 Garden gloves made from kids pants.
 
I started with an old pair of ripped pants from my bag of scrap fabric.  Throwing out fabric of any kind is really hard for me so I have quite a stash.  I'm not sure I will ever find a use for it all but this weekend I was glad I held on to these pants.  

If you are making a pair of gloves choose a fabric that has some spandex in it so the gloves fit snug and stretch well.


First pre-heat your iron to a medium setting with no steam.  
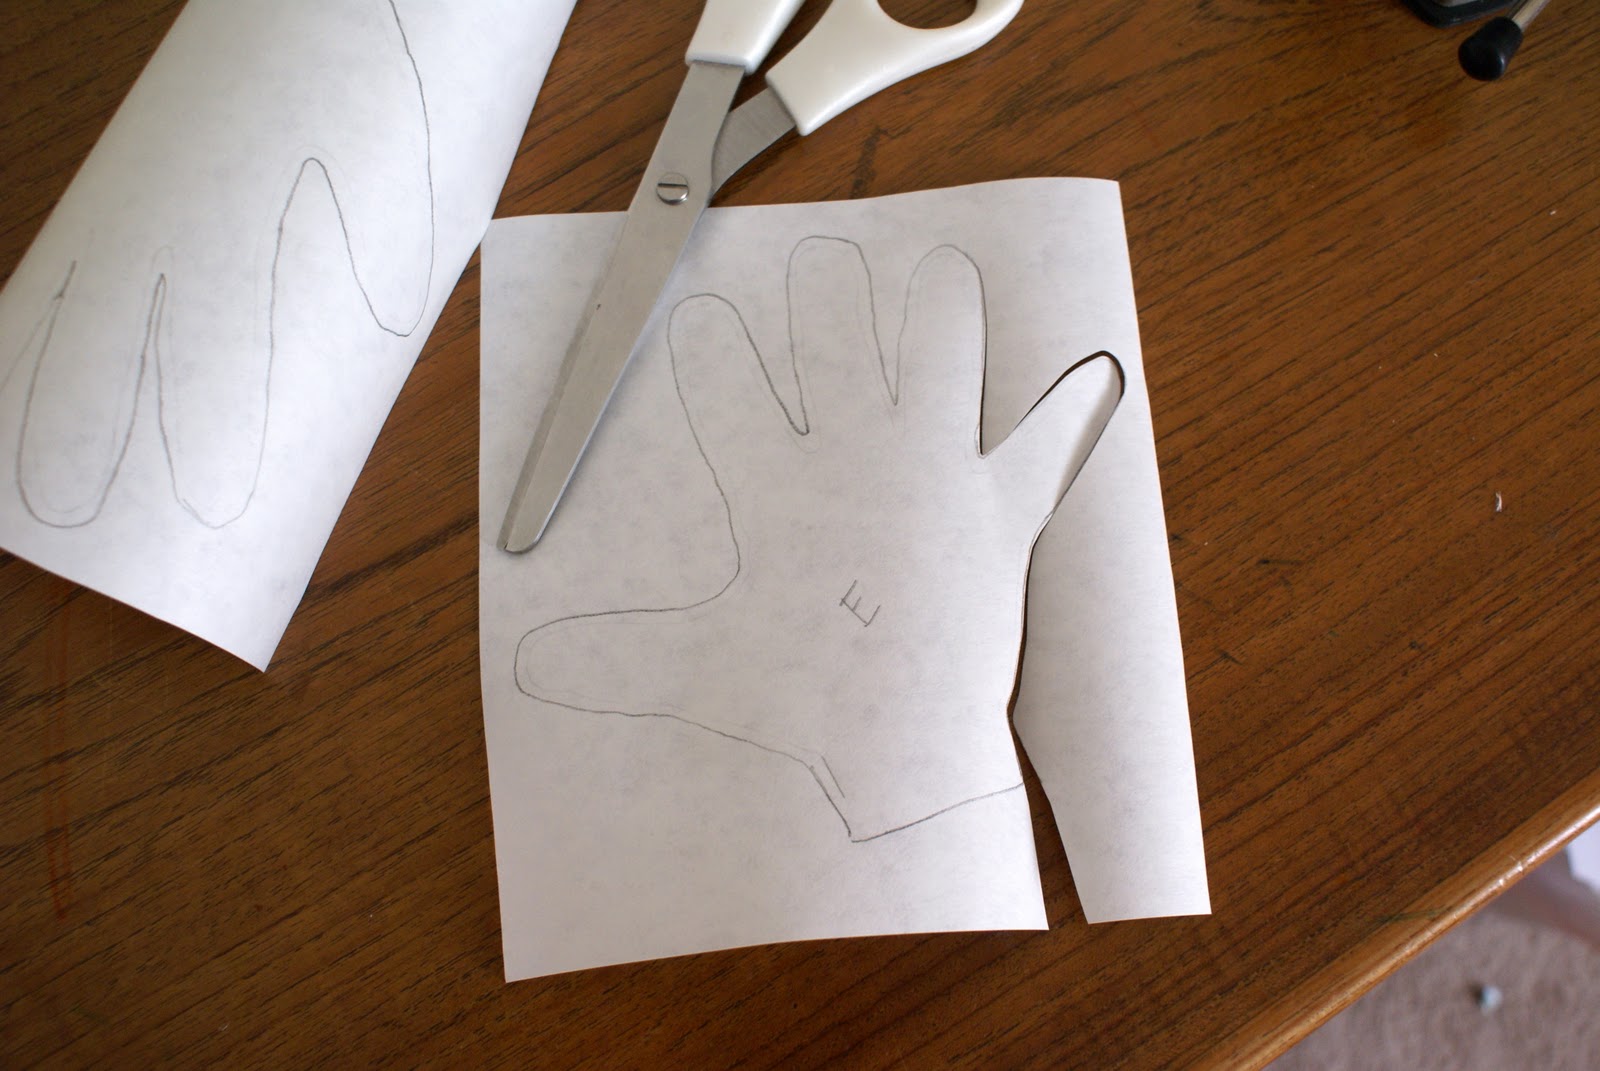
Trace one of your kid's hands onto the dull side of piece of freezer paper.


Cut the hand out on the line.  No need for a seam allowance.


Turn your pants inside out (which I did not do) and place the paper hand shiny side down the fabric.  If you are not using a pants leg make sure you have two layers of fabric with the right sides together.  Use the warm iron to secure the hand in place.


Now secure by pinning through both layers of fabric. 


Select a zig zag stitch on your sewing machine.  You will want a narrow stitch.


Stitch around the hand leaving the bottom (wrist) open.  Sewing right up to the edge of the paper and move the pins as you go.


Remove the paper and set it aside to use for the other glove.


It is okay if you get a little close and happen to sew through the paper.  Carefully tear the paper, not the thread, when you remove it.


Now you are ready to cut our your glove.


Basically you are finished.  You can leave the edge of the clove unstitched and it won't unravel because it is a knit.  Turn the glove inside out and repeat the same steps for the second glove.

Okay, so brown gloves are good for diggin in the dirt but I thought I'd add a little detail to make them pretty.
I used fabric paint, a stamp, two paintbrushes and a small piece of cardboard.

Place the cardboard between the two layers of fabric.


Apply the paint to the stamp with a wide brush and stamp the fabric.


After I applied the paint to the glove with the stamp I gave it a second coat with a small paintbrush.


I let them sit for several hours to let the paint dry then they were ready to go.  There are endless possibilities with the fabric paint but be sure to follow the direction on the bottle.


There you have it, four gloves and two happy helpers from a pair of old ripped pants.

Tuesday, February 22, 2011

Tuesday Tutorial


For those of you who have been following along on Tuesdays here is a little project you can make for yourself, a pincushion.


This version is based off Heather Bailey's free download pattern, Square Deal (here).  It is such a cute pattern but I found the sides of the square a little difficult.  I would make a terrible quilter because I have no patience for making things even.  Can you tell by my squares below?


These little fabric scraps are about 3 1/2 inches on each side.  I cut two and placed them right sides together.  Next sew along all four sides leaving about a 1 1/2 inch gap on one side.  To sew a straight line you can draw them on the fabric with invisible ink and a ruler or just use the lines on the presser foot and sewing machine as a guide.  This seam allowance was about 1/4 inch but give yourself a little more room if it makes you more comfortable (you may want to cut bigger squares of fabric to start with).

When you've got the edges sewn trim the corners to get rid of some fabric bulk.


Now to get that boxed look pinch the corners flat (see below) to make it a three dimensional shape.

You will sew a small straight stitch, about 1/2 inch, across the side seams on all four corners.  See the purple line below?


 Here is another view in case this is confusing.  It is still empty at this stage.


 Now you'll use the opening to turn the pincushion right side out.


Stuff.


And sew up the hole with a thread and needle.


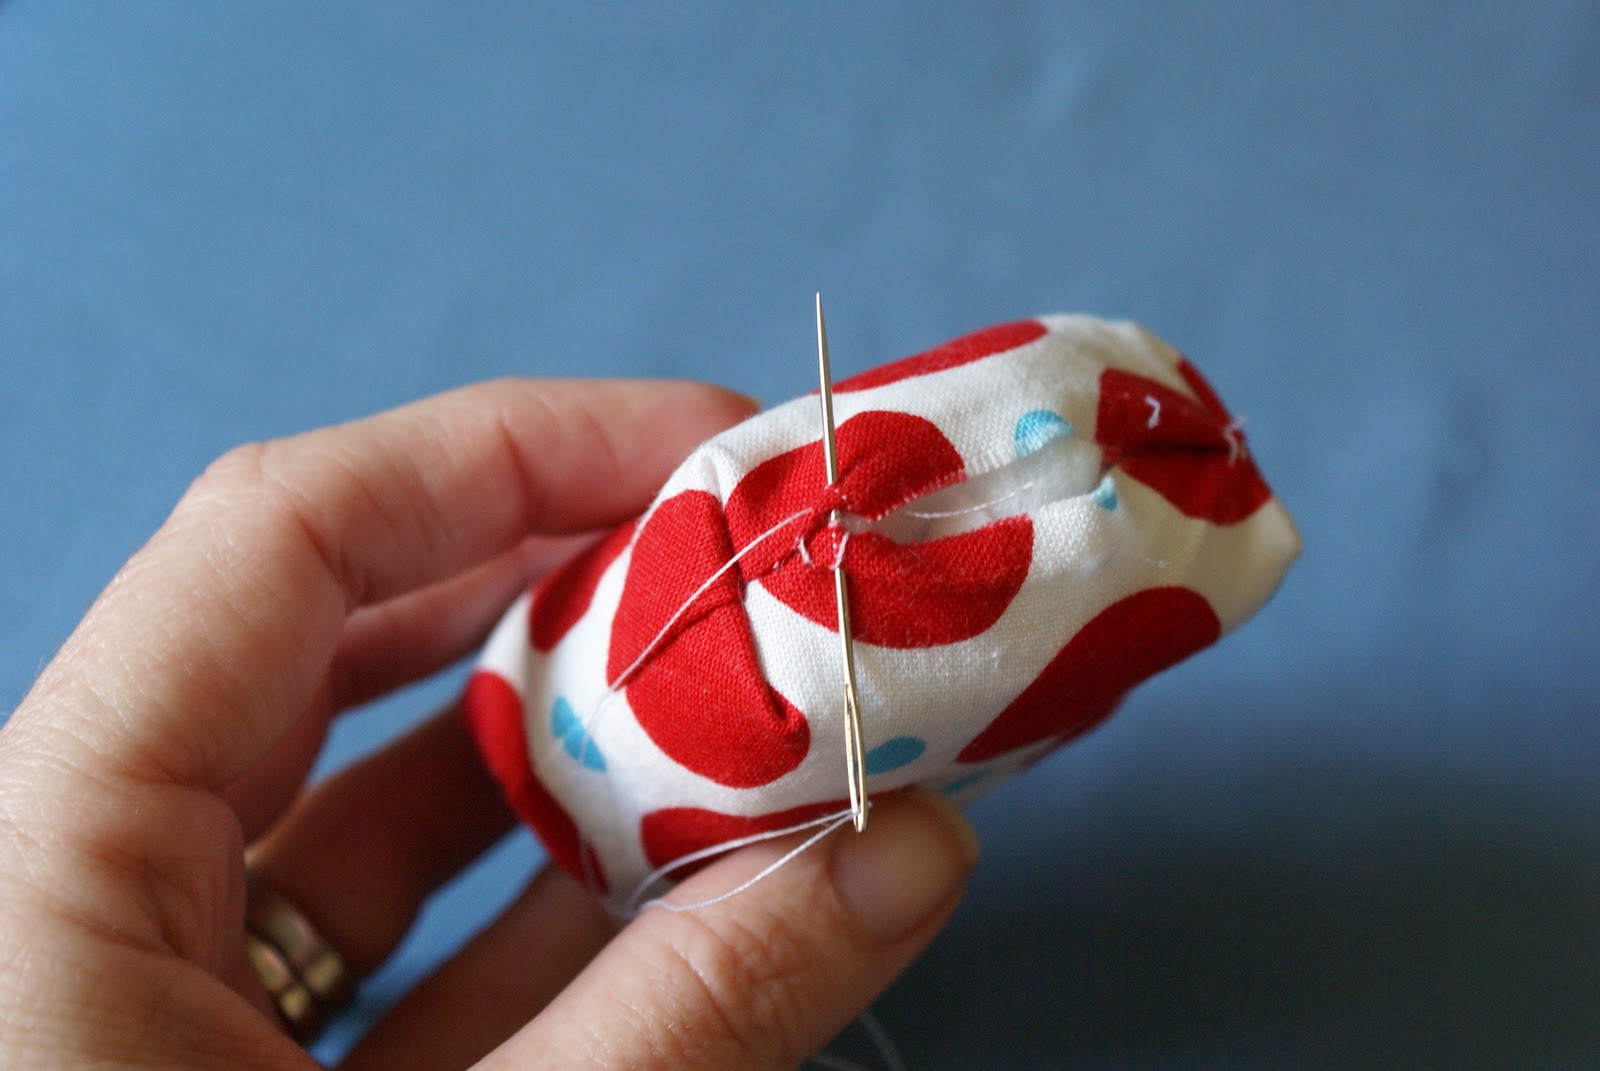
To add the button start by tying a good sized knot in a piece of thread and pull it through the cushion with a needle.  Once it comes out the other side slide a button on the needle through one hole then back down the other hole and into the fabric.  You are now headed back up to the top where the knot is.  With the needle sticking out of the top slide on your second button.  Continue pulling the needle through both buttons on either side of the pillow.  When it is on good and tight tie another knot and trim the thread.


It should look like this on both sides.


Instead of adding the ribbon over the sides like Heather's, I pulled mine around the sides and knotted.  This also helps to hide your side seam if it is not so pretty (like mine).


There you have it.  A mini (and simple) version of Heather Bailey's Square Deal. 


If you make her version or mine let me know.  I love seeing how your projects turn out.  Please tell me if I need to clarify any steps too, sorry I don't have more visuals for attaching the buttons.

LinkWithin

Related Posts with Thumbnails